7.2. MySQL Lab#
Install MySQL Workbench
Copy Private Key to the .ssh Folder
Setup Connection to MySQL server
Issue Queries
7.2.1. Install MySQL WorkBench#
7.2.1.1. Client-Server Architecture#
Note that we will be managing databases remotely in a Database Management System (DBMS) on a virtual machine (VM) as the server. Workbench is the local client, and MySQL is the DB server.
The installation process is similar, if not identical, with both current Windows and macOS versions.
7.2.1.2. Download Workbench#
MySQL Workbench is MySQL’s visual tool product for data modeling, SQL development, and comprehensive administration for server configuration, user administration, backup, and much more.
To download the installer, visit MySQL Workbench website https://mysql.com/products/workbench/ and click on the Download Now >> button to go to the downloads page.
Fig. 7.1 Download MySQL Workbench#
A the MySQL Community Downloads page, choose your OS architecture and OS version (e.g., for macOS, ARM or x86 64-bit) and click on the blue Download button to start downloading the installer. When asked to login, just click on No thanks, just start my download. below the login buttons.
Alternatively, you can use the direct links to the download:
For Windows:
Click on Windows MSI installer
Arriving at the Downloads page.
Click on No thanks, just start my download. to download.
For macOS:
Choose between Arm or x86 64-bit :
Arriving at the Downloads page.
Click on No thanks, just start my download. to download.
7.2.1.3. Installation#
Find your downloaded installer and double-click on it to start installation.
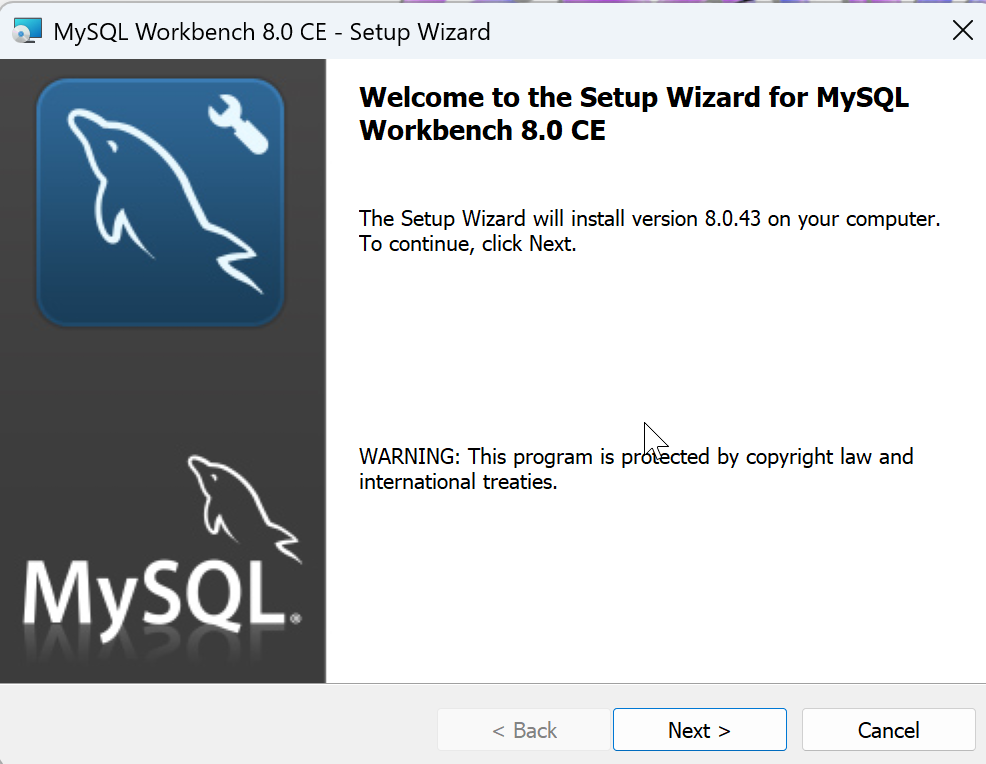
Fig. 7.2 Install MySQL Workbench#
MySQL Workbench will launch by default at the end of the installation:
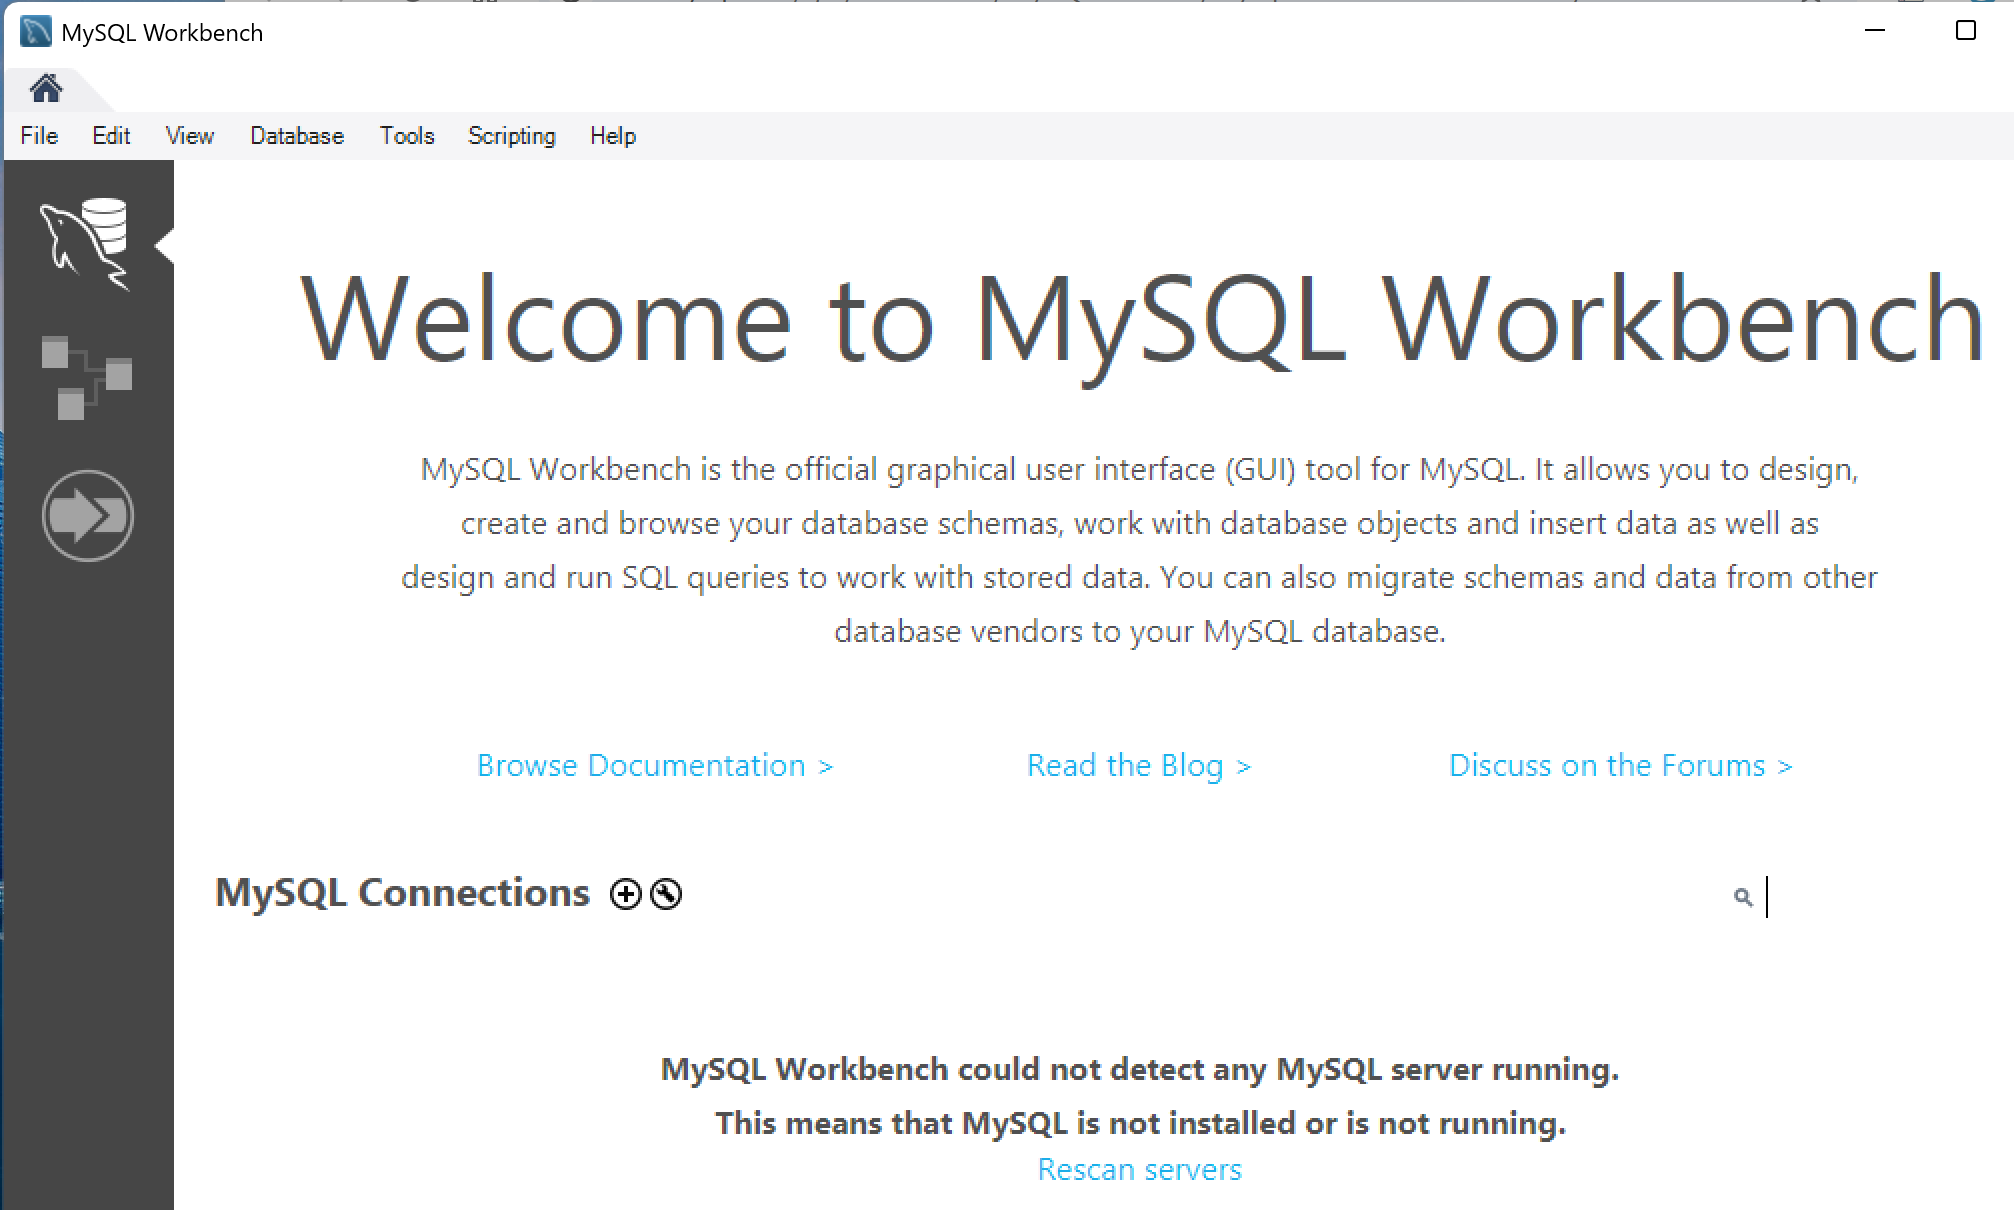
Fig. 7.3 Launch MySQL Workbench#
Note
Note that for the following are required for the Windows version illustrated here:
Microsoft .NET Framework 4.5.2
Microsoft Visual C++ 2015-2022 Redistributable
Microsoft Windows 11 or Windows Server 2022
If your computer is not too outdated, you should have met all the requirements. For the Visual C++ Redistributable requirement, the error message often specifies which version of the Visual C++ Redistributable is missing. Downloading the 2015-2022 version Redistributable usually helps; or just follow the instruction at the warning.
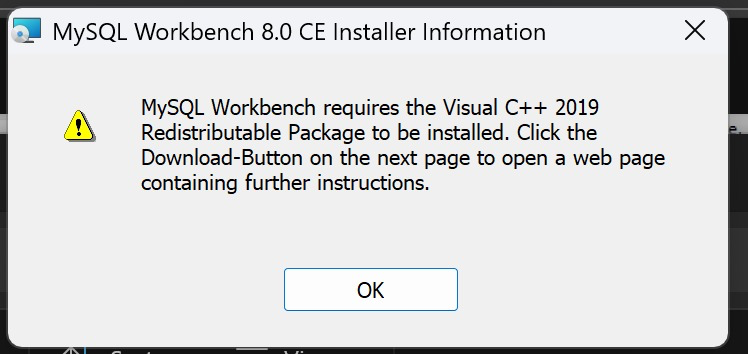
Fig. 7.4 MySQL Workbench Installation Requires Visual C++ Redistributable#
7.2.2. Setup MySQL Connection#
7.2.2.1. SSH Tunnel Explained#
In order to connect to a MySQL DBMS remotely, we need a MySQL user account and we usually connect through default port number 3306. It is nowadays a common practice that, for security reasons, to establish an SSH (the Secure Shell protocol) tunnel through port 22 to connect to the database server with traffic encrypted.
To establish an SSH connection, we use OpenSSH, which is a free and open-source software implementing the SSH protocol and is shipped with all major modern operating systems, including Windows. To create the connection, we generate (ssh-keygen) a pair of keys (pubic and private) and place the public key in the remote host’s ~/.ssh folder and place the private key in the ~/.ssh folder of the local client computer. We then log into the remote host (the SSH server) using the syntax: ssh [user]@[IP-or-domain-name].
When connecting, the remote host will ask for an authentication password and, when entered correctly, the client computer logs into the remote host just like using the local computer in command line. This way, we have an encrypted channel to protect data and communication when working on the remote host over unsecured networks such as the internet.
7.2.2.2. Copy the SSH Keys#
As a security good practice, we should generate the SSH keys per client computer so we use different keys to access the remote host. In this activity, a private key is provided to you, and the public key has been placed in the ~/.ssh directory of the remote host. Your task here, therefore, is to copy the private key into your ~/.ssh folder. The private key looks like this:
-----BEGIN OPENSSH PRIVATE KEY-----
b3BlbnNzaC1rZXktdjEAAAAABG5vbmUAAAAEbm9uZQAAAAAAAAABAAAAMwAAAAtzc2gtZW
QyNTUxOQAAACDj9jDGmA5ioHQCZnbFC+ABPaLYk3uyfb1G8GdFlOAHeQAAAJCJyWkYiclp
GAAAAAtzc2gtZWQyNTUxOQAAACDj9jDGmA5ioHQCZnbFC+ABPaLYk3uyfb1G8GdFlOAHeQ
AAAEC8Hc8nG+3wpqrONmvPKoptjss3VOeJYifQslhJuFSWS+P2MMaYDmKgdAJmdsUL4AE9
otiTe7J9vUbwZ0WU4Ad5AAAADHR5Y2hlbkBXaW4xMQE=
-----END OPENSSH PRIVATE KEY-----
Follow the following steps to place the private key in your ~/.ssh folder if you need to:
Note
For macOS users, use TextEdit or VS Code -> New Document -> paste key -> Format menu -> Make Plain Text -> File menu -> Move To… Desktop -> rename file from Untitled.txt to dsm.
In Finder, under user home directory, hold Command+Shift and hit period to show hidden folders (.ssh). Move dsm from Desktop to the .ssh folder under your user home directory.
For Windows users, open
NotepadorVS Codeto create a blank text file.
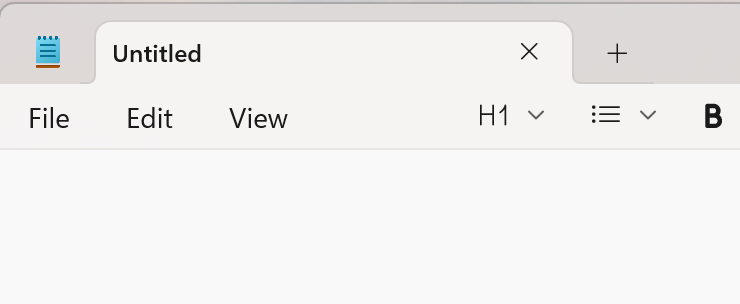
Fig. 7.5 A Blank Notepad File#
Copy and paste the private key to the file.
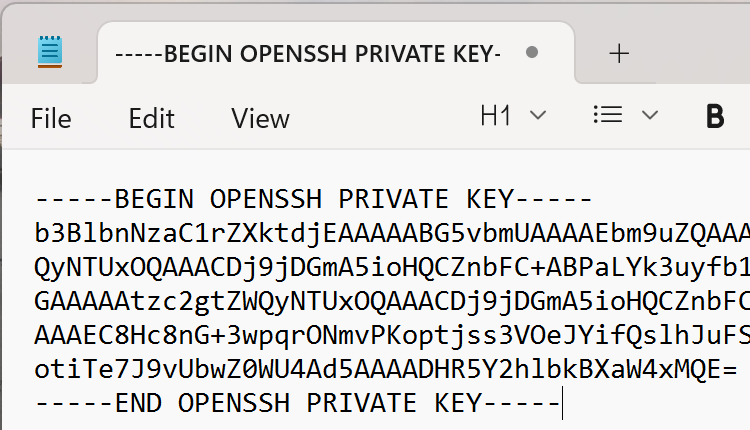
Fig. 7.6 Paste the Key Value to Text File#
Save the file into a location such as the Desktop using Save as from the File menu. Make the File name dsm (not dsm.txt. In Notepad, make sure you select Save as type -> All files. Save the file.
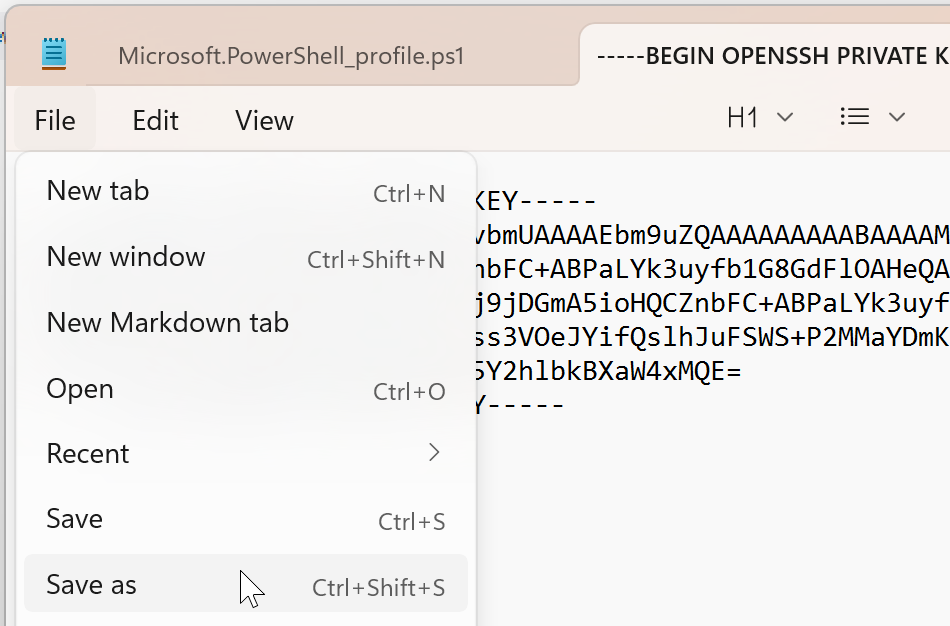
Fig. 7.7 Notepad Save As#
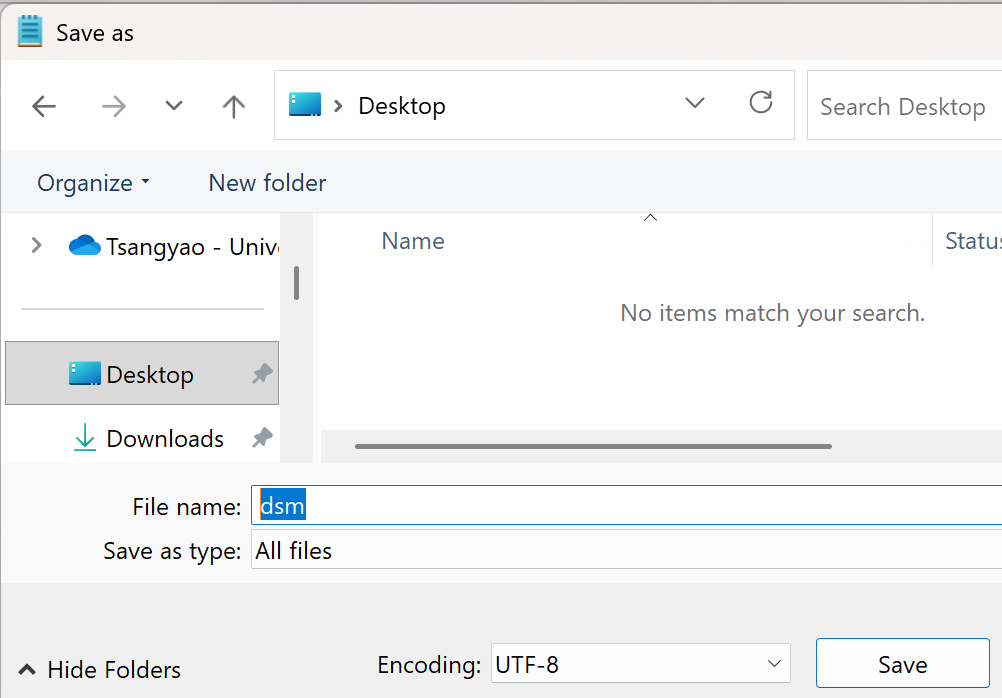
Fig. 7.8 Save the File as dsm on Desktop#
In File Explorer, copy the file dsm and paste it to your
~/.sshfolder under your username. If the .ssh folder does not exist under your username folder, create it.
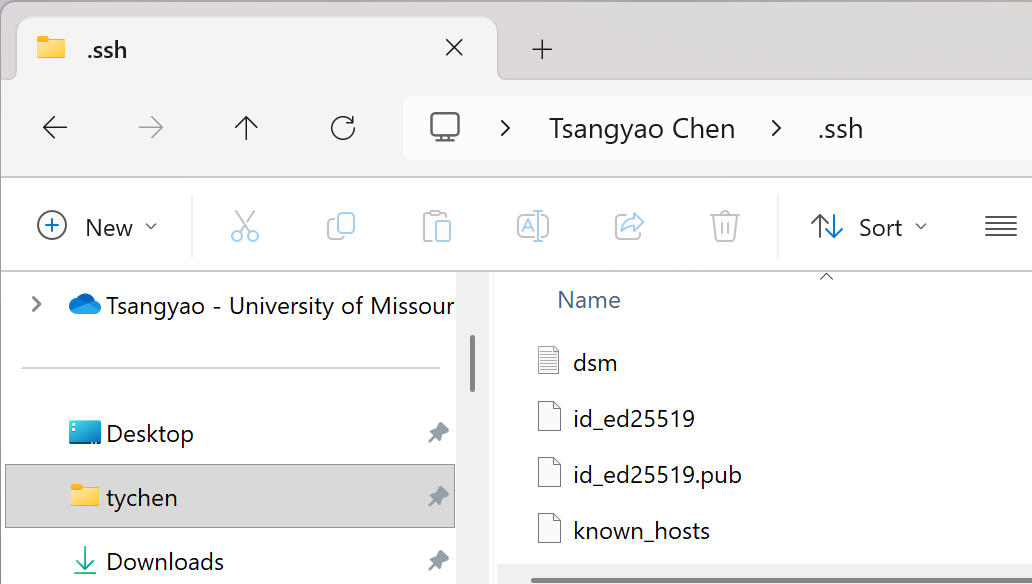
Fig. 7.9 Copy and Paste the Key File dsm to Your [user-name]\.ssh Folder#
7.2.2.3. Configure the Parameters#
On the Welcome to MySQL Workbench home screen, click on the cross by MySQL Connections to set up a new connection to the remote DBMS server. You will see the Setup New Connection popup window.
In the Setup New Connection window, enter the following parameters information; note that we have two accounts here (dsm and dsm-mysql):
Connection Name: (enter, e.g., dsm-MySQL)
Connection Method: (Choose Standard TCP/IP over SSH)
SSH Hostname: tychen.org:22 (or just tychen.org )
SSH Username: dsm (the account has been created)
SSH Key File: (leave blank)
SSH Key File: (leave blank)
MySQL Hostname: 127.0.0.1
MySQL Server Port: 3306 (the default port for MySQL)
Username: dsm-mysql (the MySQL account has been created)
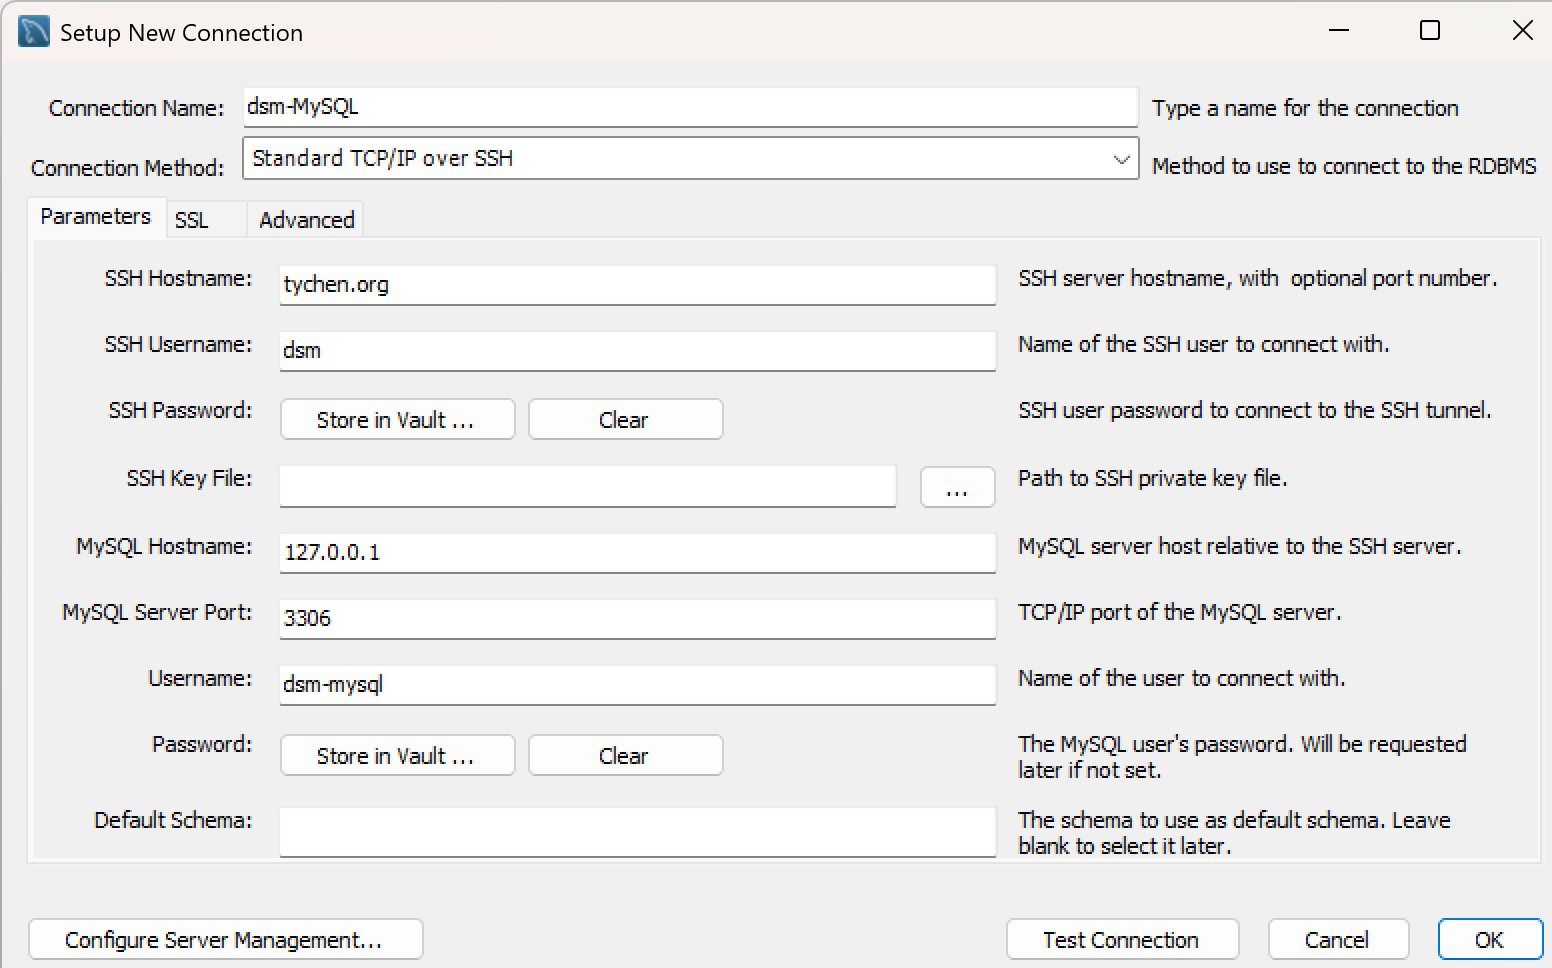
Fig. 7.10 Connection to MySQL Workbench#
Now go through the following steps to enter passwords and accept key signature (feel free to save the passwords in the vault):
Click on Test Connection when you have filled out all the information correctly. You should see an Open SSH Connection popup window asking for the Password of User dsm. Enter the password provided and click OK.

Fig. 7.11 Connection to MySQL Server: Enter the Linux User Password#
When you connect to a remote host for the first time, the two computers need to exchange key signatures. Click OK to continue.
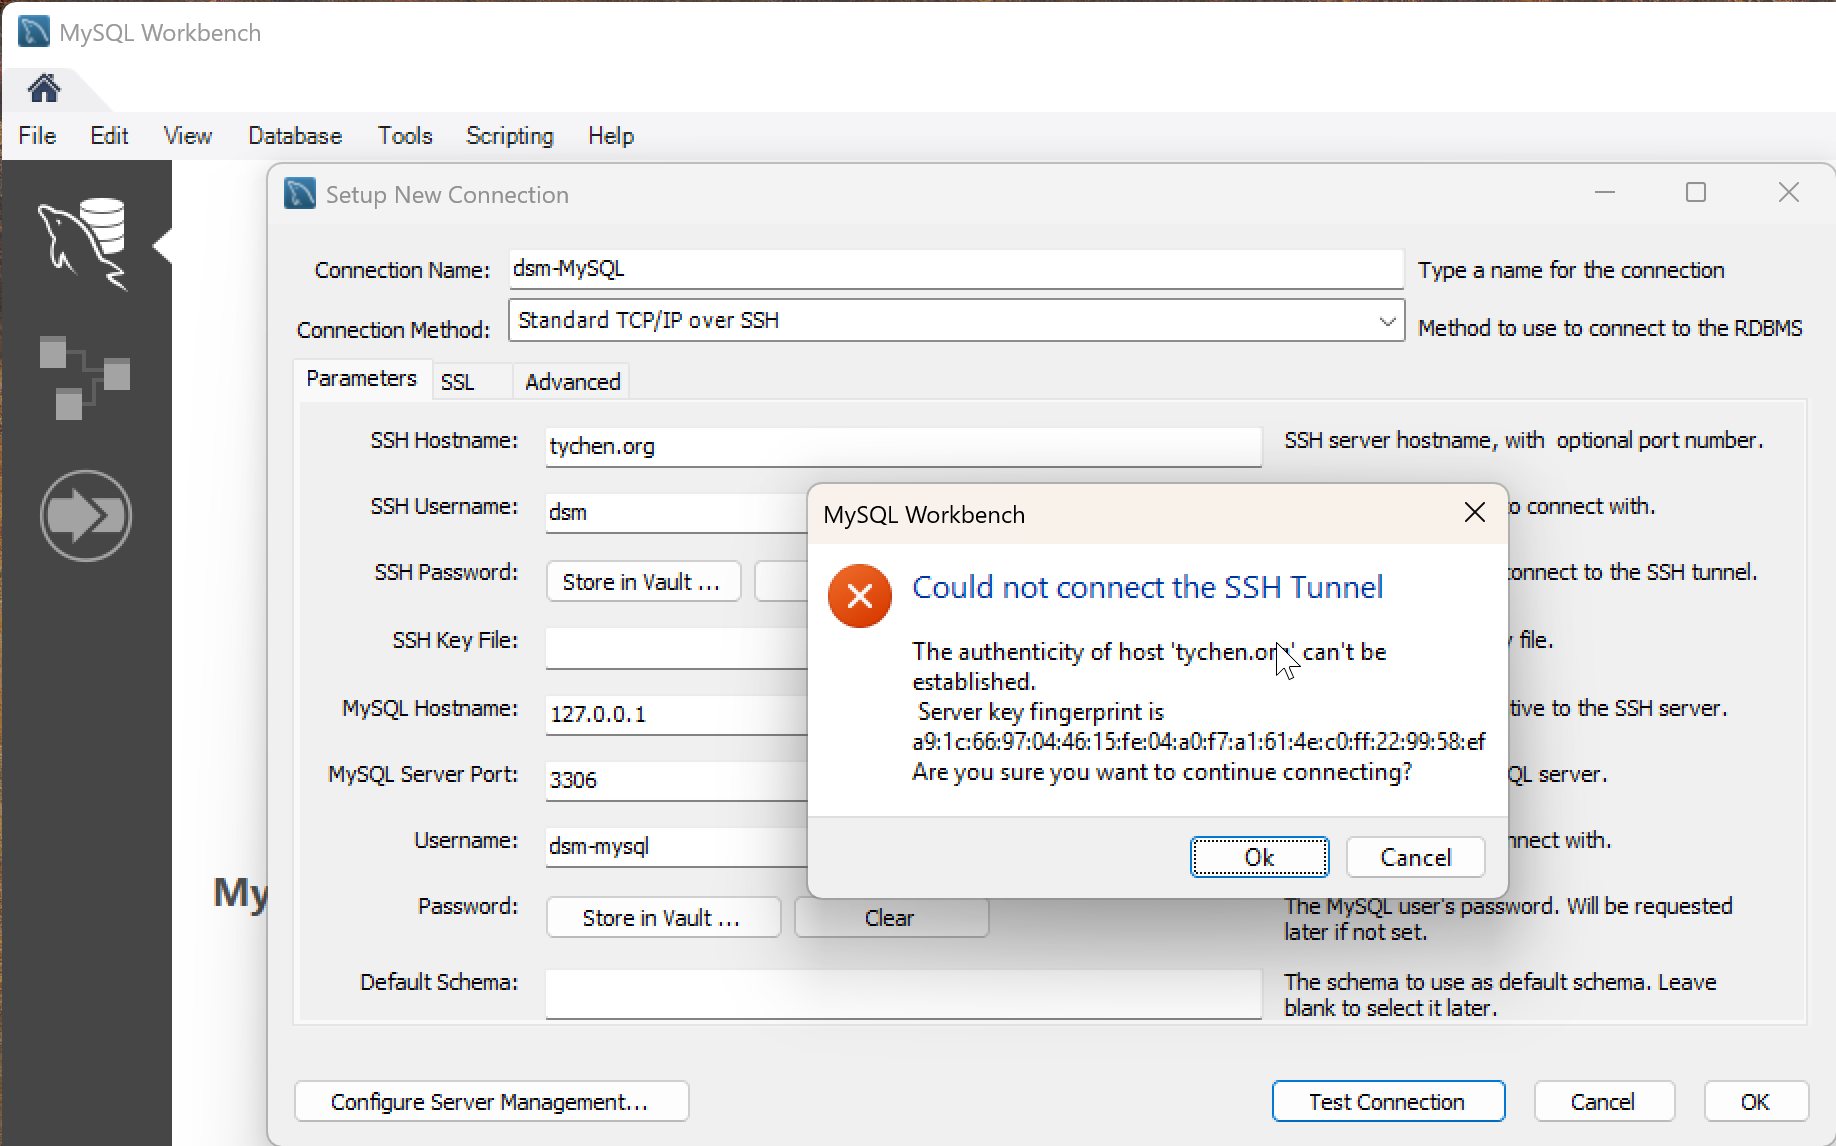
Fig. 7.12 Accept Key Fingerprints to Establish First-Time Connection to Server#
You will be asked for the password of the MySQL database user (dsm-mysql). Enter the password provided and click OK.
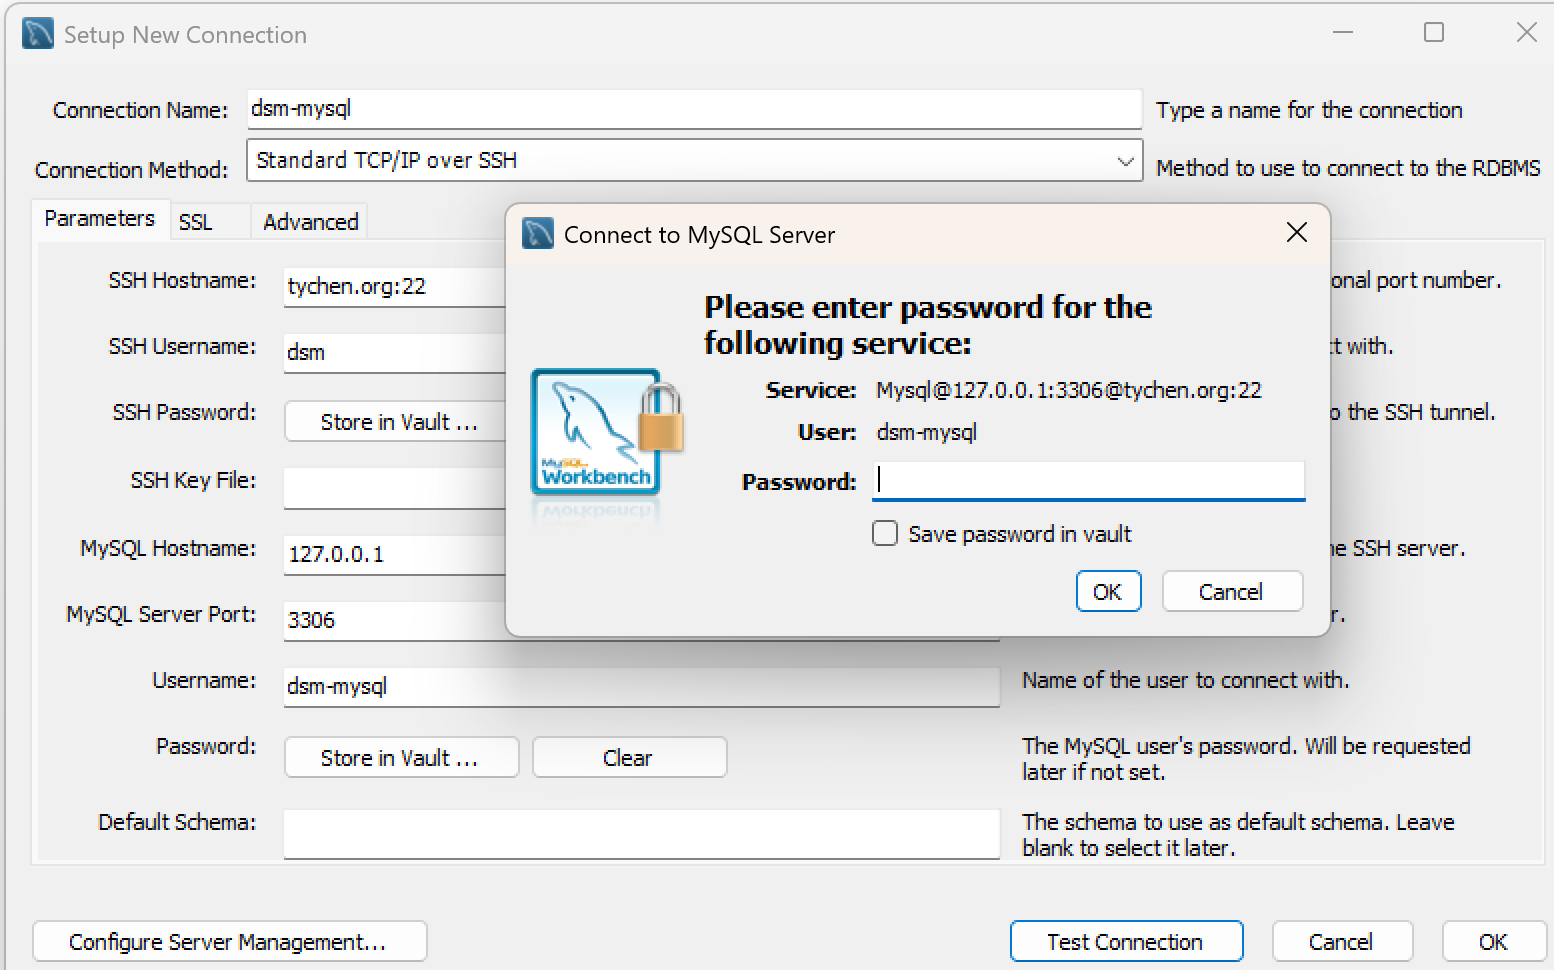
Fig. 7.13 Connection to MySQL Server: Enter the MySQL User Password#
You should see the popup window saying “Successfully made the MySQL connection”. Click OK to exit.

Fig. 7.14 Connection to MySQL Successful#
Click OK to exit out of the Setup New Connection window. Now your have successfully created a connection to the remote DBMS host. The connection is called dsm-MySQL or whatever you named it and it is a grey box.
7.2.3. Connect to MySQL Server#
Double-click on dsm-mysql connection to start using MySQL Workbench. You may be asked to provide passwords for the dsm Linux user account and the dsm-mysql MySQL user account if you have not saved them in the vault.
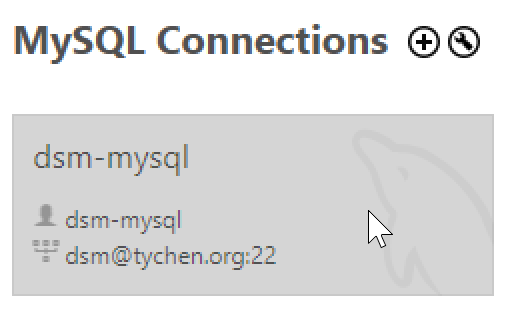
Fig. 7.15 Double-Click on a Connection to Connect to MySQL DBMS#
For first time login, the Workbench interface may show you the MANAGEMENT features under the Navigator pane because the Administration tab is selected.
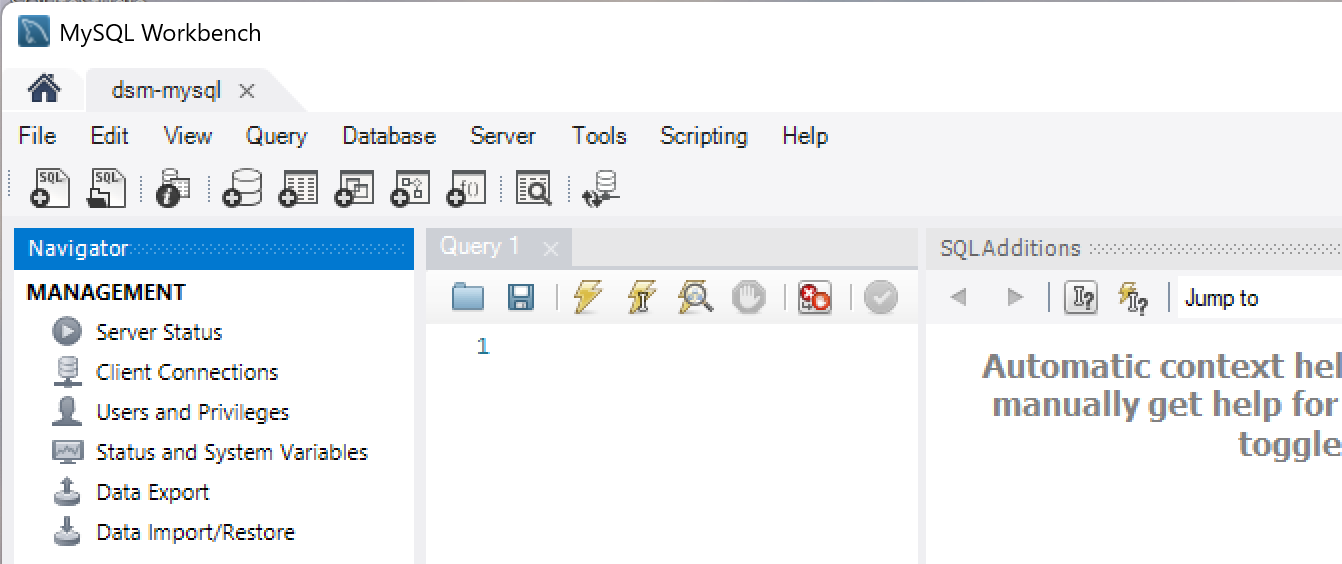
Fig. 7.16 MySQL Workbench Interface#
Find and click on the Schemas tab at the bottom of the Navigator pane.
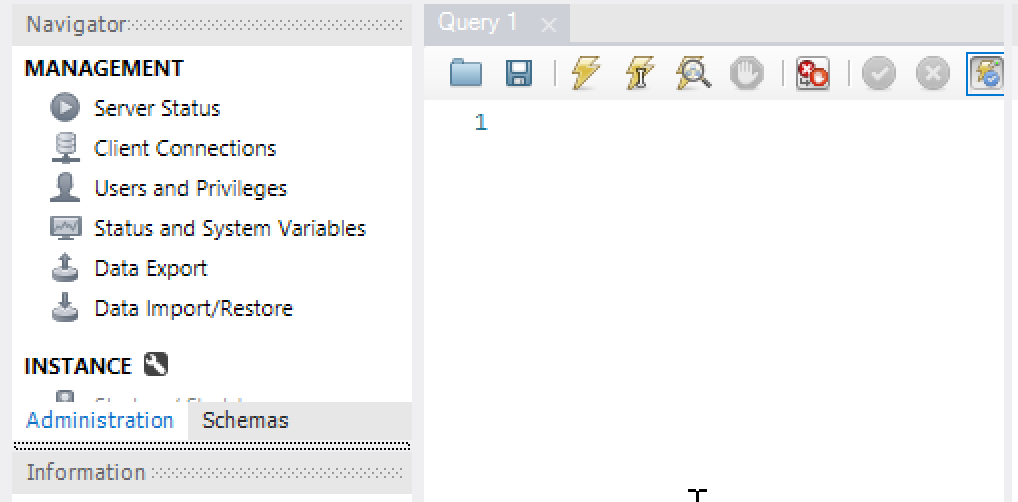
Fig. 7.17 Find and Click the Schema Tab to Show Schemas (Databases)#
After clicking on the Schemas, the Navigator pane shows SCHEMAS (databases). In our case here, we have the employees database

Fig. 7.18 Choose the Schema Tab to Show Schemas#
Now that we see the database server employee, let’s right click and choose it to Set as Default Schema so we can start using this employees database.
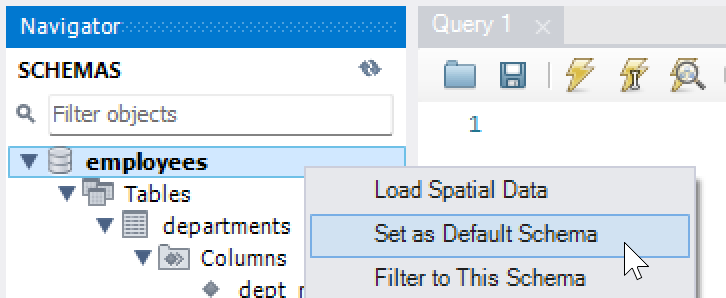
Fig. 7.19 Set Default Schema#
7.2.4. First Query#
In the query editor, type your SQL query and use the flash icon to execute/run the query. The query results will show in the Result Grid. You may choose the Beautify broom to beautify your code.
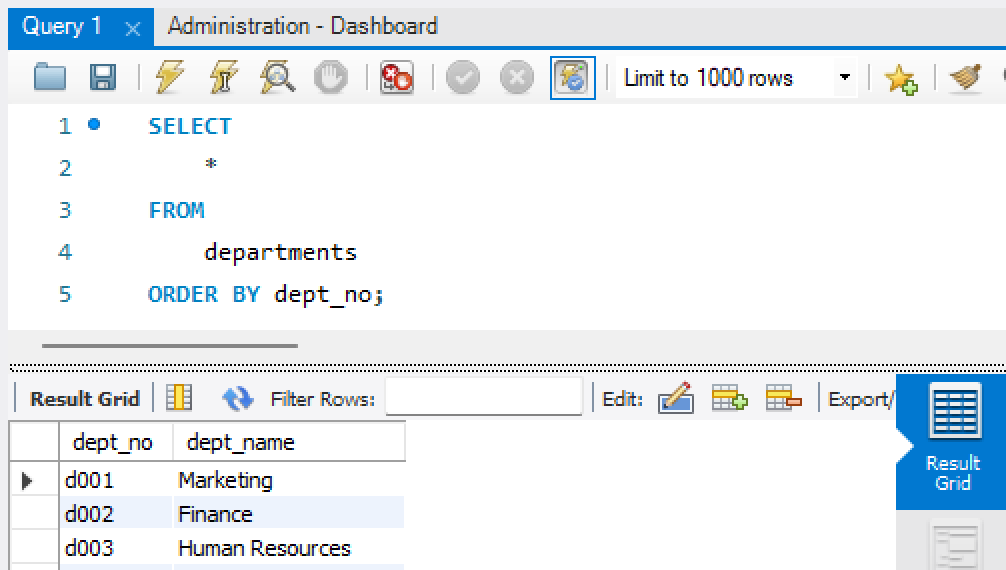
Fig. 7.20 A Simple Query#
7.2.5. Exercises#
7.2.5.1. Exercise#
Does the company currently have more male employees or female employees?
7.2.5.2. Exercise#
What are the average salaries of employees by department? Order the result based on the average of salaries.
7.2.5.3. Exercise#
The following queries generate results of 331603, 331603, and 300024. State the possible reason(s) why the numbers are the same/different.
SELECT COUNT(emp_no) FROM dept_emp;
SELECT DISTINCT(COUNT(emp_no)) FROM dept_emp;
SELECT DISTINCT(COUNT(emp_no)) FROM employees;
7.2.5.4. Exercise#
Prepare a query to check the number of employees in each department. The results should look like below:
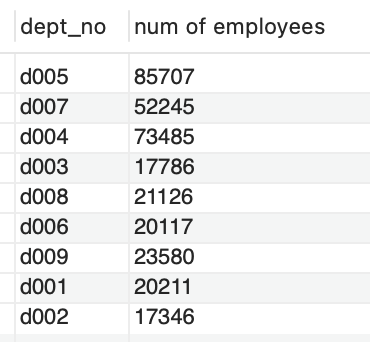
Fig. 7.21 Number of Employees by Department#
7.2.5.5. Exercise#
Based on the question above, add a column to the right of dept_num, call it dept_name, to show the name of the departments.
7.2.5.6. Exercise#
Using the following query, Dr. Chen tries to find the top 10 salary-earners in the company. Look at the query result, help Dr. Chen figure out a better query to show only unique employee names in the results.
SELECT * FROM employees.salaries ORDER BY salary DESC LIMIT 10;

Fig. 7.22 Top 10 Salaried Employees#